
DIY Tips for Sprinter Stereo Replacement
At Warner Vans of Utah, we’re happy to not only provide custom Sprinter vans for you or your business, but also service for these vehicles. Whether you need something simple like an oil change or require a more detailed repair or project, we’re here to help.
For some luxury Sprinter owners, though, the thrill of accomplishing certain van-related projects on their own is a big part of the fun. We always encourage DIY owners to make smart tweaks to their vehicles, providing support where we can.
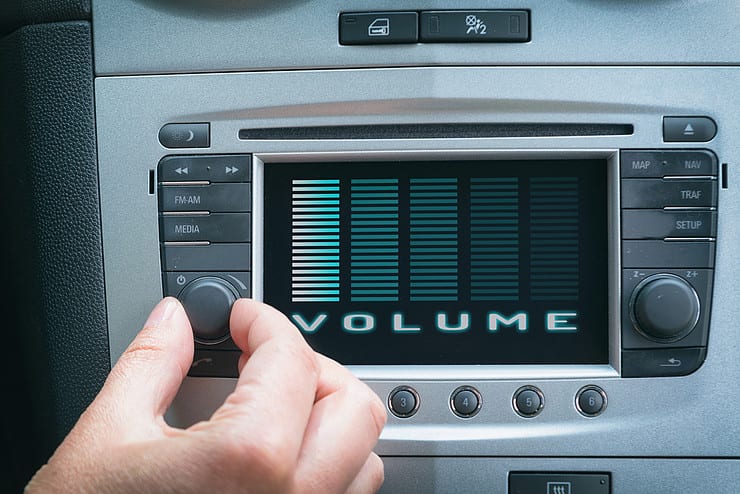
One common modification some people make, not only to Sprinters but to numerous vehicle types: Changing the stereo. Mercedes-Benz Sprinters come with high-quality audio equipment, but some drivers want a truly unique audio system that isn’t included in any stock variety.
If you’re among these, here are some basic steps for removing an old stereo and replacing it with a new one.
Pulling and Disconnecting Old Stereo
The first step here involves dealing with the old stereo, which involves having the proper tools on hand. You want a basic screwdriver with the proper head type for starters, and it’s also good to have a wrench or another similar device that can help with prying if you need it. Finally, if you have any safety gloves or tools that are good for working with wires and electronics, make sure they’re on hand also.
Most Sprinter stereos should be relatively easy to pull from their slots using these basic tools. Be sure not to yank too hard – there are wires that are attached at the back, particularly a wire harness that you need to disconnect.
Antenna Adaptor Cable
If your old stereo came with an antenna adaptor cable, this will be an item you have to transfer over to the new stereo. In most cases, it will easily snap into place in a very obvious area. Certain new stereos may require it to be soldered on, which our professionals can help with if needed.
Connecting Wires
Next it’s time for perhaps the most important step: Connecting the wires from the old wire harness to the new stereo. Some people choose to solder their wires together here so they go into the harness as one piece, but this isn’t a steadfast requirement – you can also just splice them together or even tape or wrap them up.
Whichever way you go, you’ll have an easy time connecting things due to the fact that wires are color-coded. All you have to do is match the proper colors and you’re good to go.
Re-Plugging
Finally, it’s time to plug the radio wire into the back of your new stereo and slide it into the proper sitting spot. And just like that, with little hassle and no damage to your Sprinter, you have a unique stereo system.
For more on DIY Sprinter projects, or to learn about any of our customer Sprinter vans for sale, speak to the staff at Warner Vans of Utah today.